
In our video tutorial you will find step-by-step instructions for installing the RainWay gutter system
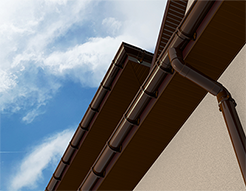 1. Before installing the rainwater system, it is essential to determine the location of the downpipes, taking into account the direction of water drainage, the location of the ground drainage points and the view of the facade. Each running outlet should be installed per each 10 meters of gutter length.
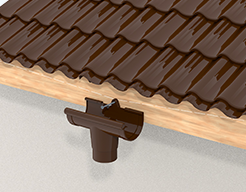 2. Using a cord, determine the slope towards the drain, approximately 2 cm by 10 m of gutter length. Than install the gutter brackets at the highest points.
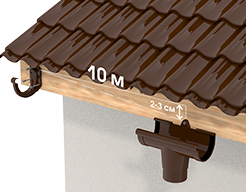 3. Install runnig outlets in the places where drain downpipe will be connected later. The running outlets should be at the lowest points of the gutters!
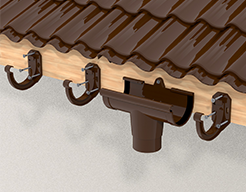 4. Use 6 brackets per one gutter piece, at a distance no more than 55 cm between brackets. Install them no further than 10 cm from the running outlets, gutter unions and gutter angles.
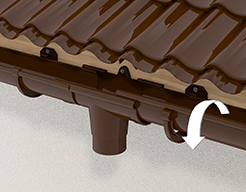 5. The installation of the gutters should begin are from the running outlet. The edge of the gutter should be at the level of the marks on the running outlet. The gutter is inserted into the brackets and connecting elements starting from the back wall of the gutter.
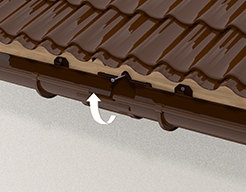 6. The gutters are connected to each other with a gutter union. The edges of the gutters should be in line with the marks on the gutter union. Once connected, the gutter union is attached to a roof wind board.
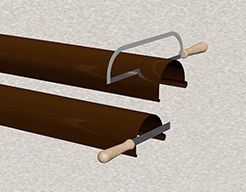 7. To cut the gutters and downpipes the hacksaw should be used. Rough edges then smoothed with a file.
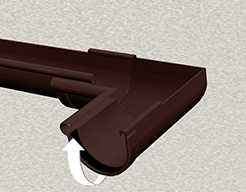 8. The gutter angles should be connected according to marks, the same way as gutter unions were.
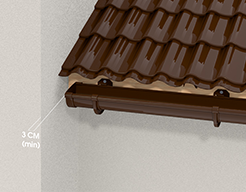 9.Attach the stopends at its places at the edge of the gutters. The distance from the stopends to the side roof board or to the wall should be at least 3 cm.
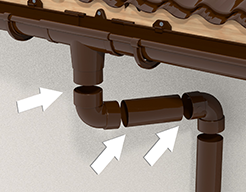 10. Installation of pipes starts from the runnig outlet. With a significant roof extension between the double socket bends (67 * or 87 *), a pipe section is used. To avoid sagging pipes, it is recommended to fix them with connecting elements using PVC glue, sealant or other means (rivets, self-tapping screws L-12mm)
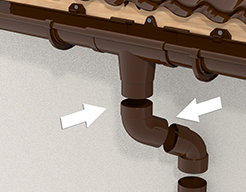 11. With a small distance between an eave overhang and a wall a pipe coupling or a combination of single socket and double socket bends should be used. The arrow on the connectors and socket bend indicates the direction of water flow, and is always pointed downwards. The fixation of elements to each other is the same as at previous step 10.
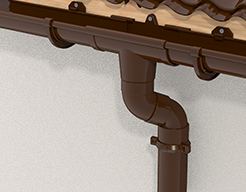 12. A downpipe bracket is installed right under the bend. When connecting pipes, leave a gap of about 10 mm for linear thermal expansion. No glue should be is used!
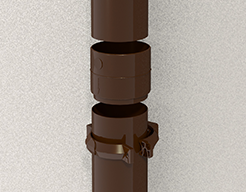 13. Use connectors to connect downpipes to each other. An arrow on the connector indicates the direction of water flow and always points downward. A bracket is installed under the connector. Due to thermal expansion, the downpipe should not be fully inserted. Leave the gap of about is 10 mm. Do not fix a downpipe to the connector!
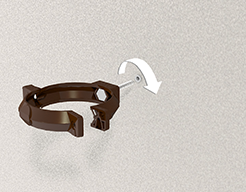 14. Downpipe brackets are mounted to a wall with wall plugs and screws. The distance between the brackets should not exceed 1.5 m.
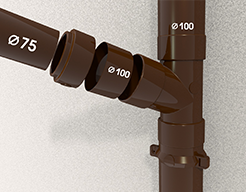 15.The branches are installed in the same way as connectors. To connect a 75 mm pipe to a 100 mm with a branch, an adaptor is used.
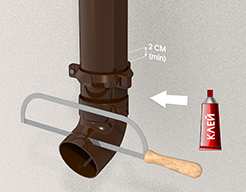 16. The lower bend should be fixed to a downpipe (see step 10). Only PVC glue is used for gluing. The downpipe is fixed with a bracket. A distance to the bend is 2 cm, and a distance to the ground level not less than 20 cm.
 Complete instructions in pdf format
0.215 MB
Complete instructions in pdf format
0.215 MB
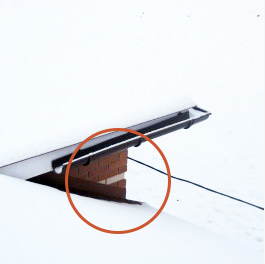 Installation at subzero temperatures
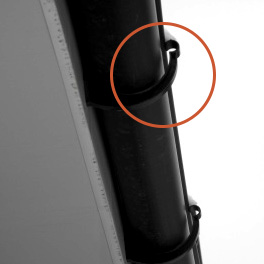 Not latching gutters into brackets
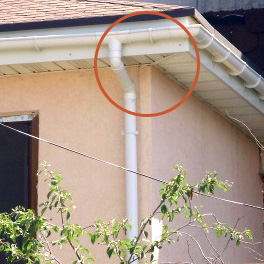 Insufficient number of gutter brackets
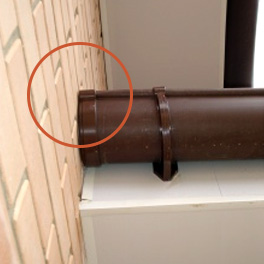 The distance to the wall must be at least 3 cm
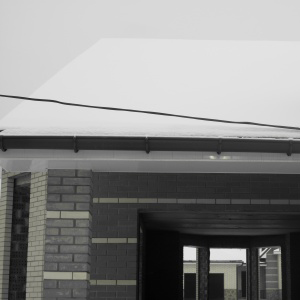 The distance from the union to the bracket is more than 10 cm.
 The distance from the bend to the ground is less than 20 cm.
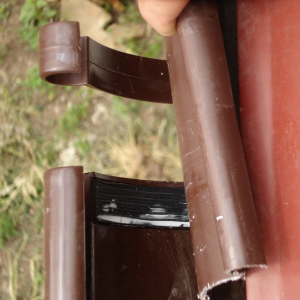 Lubrication of rubber bands with glue or silicone.
In our video tutorial you will find step-by-step instructions for installing the RainWay soffit
Конструкция софита состоит из следующих элементов:
Перед монтажом софита все отделочные работы и утепление дома должны быть завершены. Установку лучше не начинать, если температура снизилась до 0 °С.
">


Premium Rainway soffits provide a beautiful and functional finish for the space under the roof. The wide-plank effect and natural wood grain give roof structures an aesthetic appeal. The satin finish of the panels creates a soft, pearlescent sheen. Hidden perforations, invisible to the naked eye, ensure the necessary ventilation for the roof and attic. Premium soffits are made of durable vinyl, which provides strength and flexibility, preventing deformation, delamination, and cracking.
The Premium soffit system consists of the following components:
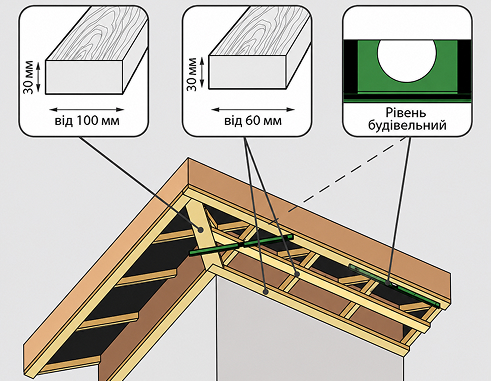 Installation of a supporting structure made of wooden slats.
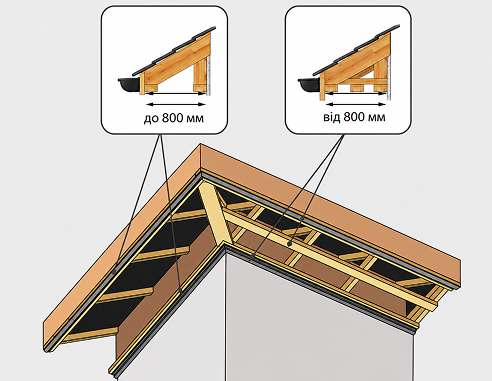 A diagram showing how to install wooden slats, depending on the length of the roof overhang.
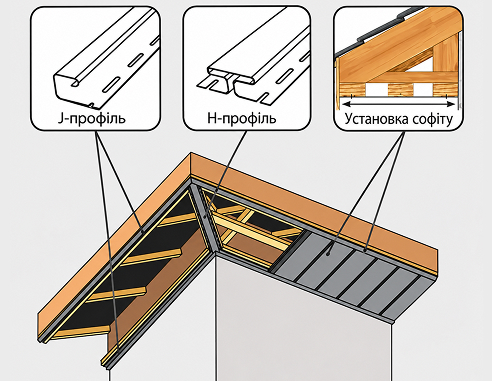 The diagram shows the installation of J and H profiles and the installation of soffit panels.
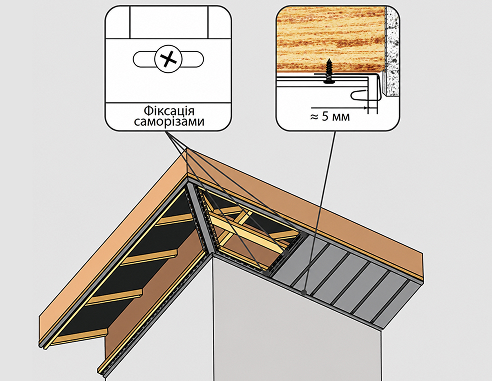 Connection point between the panel and the J-profile. Screw in the self-tapping screws only through the center of the mounting hole. Do not screw them into the body of the profile. Do not tighten the self-tapping screw all the way; leave a small gap between the head and the panel to allow for free horizontal movement.
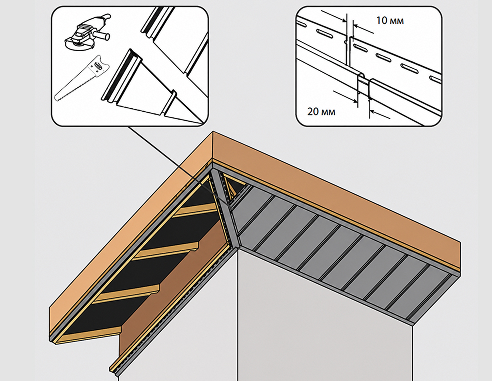 Cutting and installing soffit panels.
Rules for storage of soffits
Rules for the carriage of soffits